
 |
Prerequisite Knowledge Getting Started: Creating your first DataGrid Project |
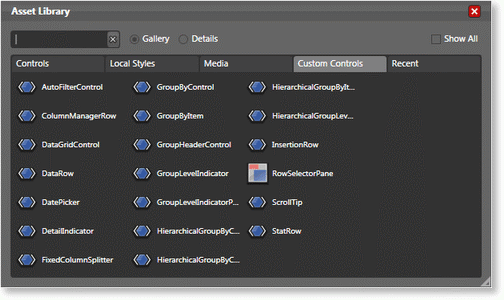
In Expression Blend, once the references to the Xceed.Wpf.DataGrid and Xceed.Wpf.Controls assemblies have been added to the project, the DataGridControl control, along with all other stylable data-grid elements, will be found in the Asset Library under the Custom Controls tab and can be added by double-clicking on the control that will appear in the asset toolbox.

Once the DataGridControl has been selected, it will appear as the main asset-library item in the toolbox and can then be dropped onto the design surface and its properties modified through the property grid.
As seen in the Asset Library, there are a variety of data-grid elements for which styles can be provided. Like other controls in Blend, in order to add a style to the resources of a Window, the element must first be dropped on the design surface.
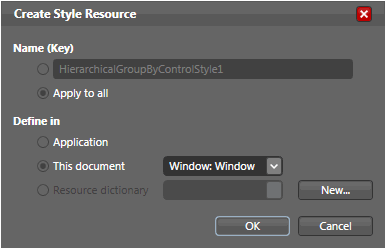
Once the element to style has been added to the design surface, a new style, or a copy of the element's default style, can be provided by selecting the element and choosing either the Edit a Copy... or Create Empty... options from the Object\Edit Style menu. When either option is selected, the Create Style Resource window will open in order to provide the new style with an (optional) key and decide where it will be defined (see Figure 2).
Modifications can then be made to the element's style either through the property grid or directly in XAML.

Figure 2: Create Style Resource Window
Once new styles have been provided for the desired data-grid elements, they should be removed from the design surface. This can be done by selecting them on the design surface or in the Objects and Timeline window and deleting them (the styles will remain).