The Fill Effect Editor is the primary tool that exposes filling selection functionality to the user. Fill effects can be applied to all scene elements that require filling customization, such as backgrounds, shapes, texts, backplanes, etc. The Fill Effect Editor has been designed to resemble Excel's fill effects but has a unique Advanced Gradient filling feature, which Excel lacks. Best of all, the editor can also be used at runtime to provide the user with a consistent and intuitive interface for applying different types of filling. The Fill Effect editor consists of five property pages, each defining the possible filling modes:
-
Solid Color
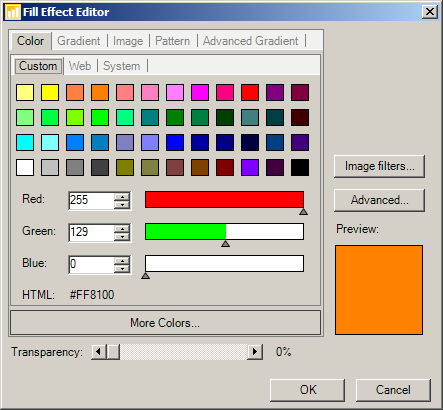
figure 1.
From this property page the user can choose a solid color filling from the Standard Palette. The Choose color... button invokes the standard color picker dialog, from which the user can select a standard or custom color.
-
Gradient
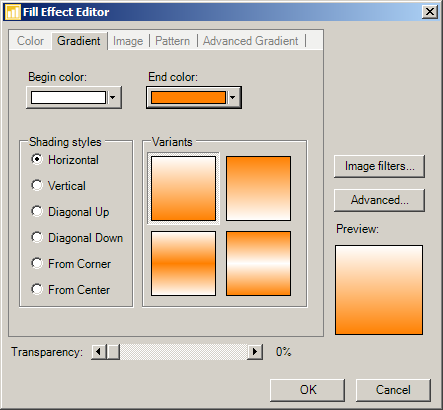
figure 2.
From this property page the user can choose from a set of Excel-like predefined gradients. The "begin" and "end" colors of the gradient are easily controlled with the help of the Begin color and End color pickers. The gradients also support Texture Mapping.
-
Image (or Texture)
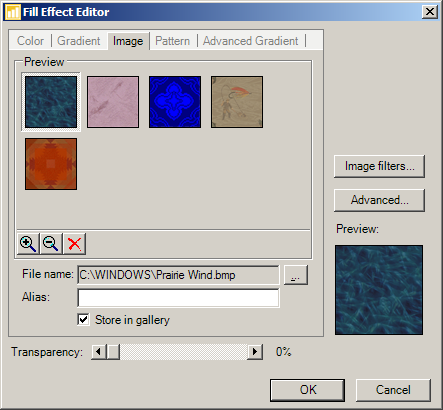
figure 3.
From this property page the user can select texture filling. The component stores a gallery of the images that the user has already used for textures. The texture gallery can also be programmed at runtime: in this way, you can present the end-user with a predefined collection of textures that you have selected. Applying a Stretched, Tiled or Centered texture is also easy. Click on the Advanced... button and modify Texture Mapping layout. For more information, please refer to the Texture Mapping topic.
-
Pattern
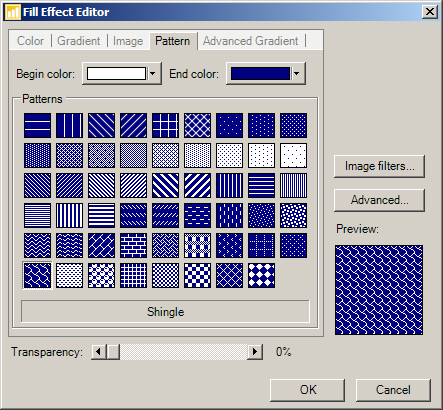
figure 4.
From this property page the user can choose a from a set of Excel-like predefined patterns. The "begin" and "end" colors of the pattern are easily controlled with the help of the Begin color and End color pickers. The patterns also support Texture Mapping.
-
Advanced Gradient
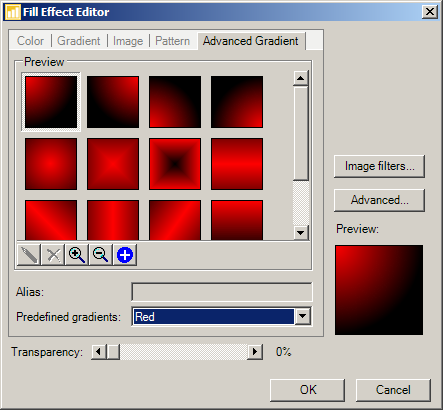
figure 5.
From this property page the user can select advanced gradient filling. The component stores a gallery of the advanced gradients that the user has already used or created, which are displayed when the user selects the Custom option from the Predefined Gradients combo.
The Fill Effect Editor also has a large set of predefined advanced gradients, which the user can easily preview simply by changing the selected Predefined Gradients scheme. To add a predefined gradient to the Custom group, just click on the Add to Custom button.
Advanced gradients, which reside in the Custom Group, can be edited with help of the Advanced Gradient Editor, which is invoked by the Edit button: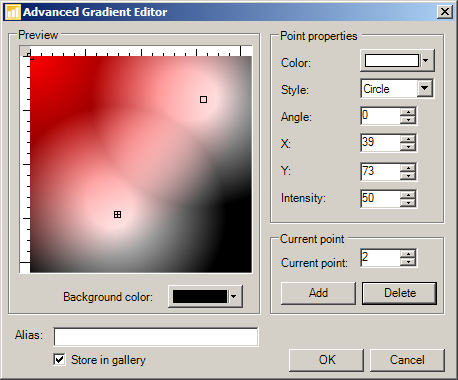
figure 6.
As you can see, the Advanced Gradient Editor is a powerful tool for creating virtually any kind of gradient. Best of all, it can also be programmed at runtime. Please refer to the Advanced Gradient topic.
Fill Effects also support transparency, which makes it possible to apply transparency to virtually any visual element. Filling transparency is controlled by the Transparency scrollbar.
Another unique feature exposed by the Fill Effect editor is the ability to apply materials to the filled chart element. The Material properties of the fill effect are visually exposed in the Material property page, accessible via the Advanced... button. Please refer to the Xceed 3D Lighting Model topic.
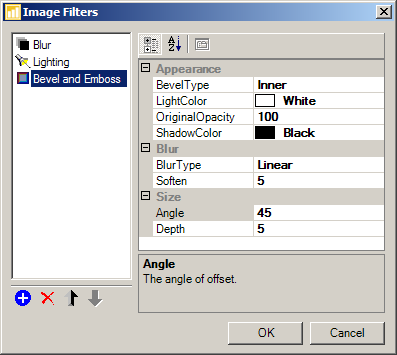
You can also apply image filters to objects rendered in 2D. This functionality is visually exposed by the Image Filters dialog, which can be invoked from the Image filters... button:
See Also
Fill Effects Overview | Solid Color | Gradient | Image | Pattern | Advanced Gradient | Texture Mapping