This topic demonstrates how to use the SmartStatusBar SmartControl using both the designer and code. The code is provided in a sequential order and can be cut and pasted into your application step-by-step.
Basic steps
To use the SmartStatusBar in your application, the following steps must be performed:
-
Add the SmartStatusBar control to your form.

If you would prefer to add the SmartStatusBar SmartControl to your form programmatically, the following code can be used:
-
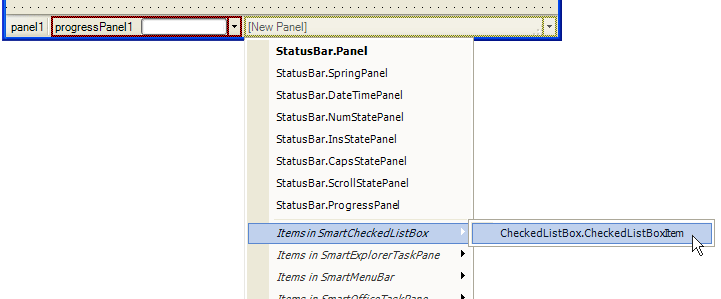
Double click on the New Panel menu or click on the drop down arrow to add Panel SmartItems.

If you want to add items other than Panels, you can click on the drop down arrow and select the SmartItem to add. The first eight SmartItems in the list are the preferred SmartItems for the SmartStatusBar

To add SmartItems programmatically to the SmartStatusBar , you can use the following code:
The first two items to be added will be the Panel and ProgressPanel SmartItems. The last item will be a ComboBoxTool.
Configure your SmartStatusBar . You can decide if the SmartItems are enabled or visible and you can change the text, position, etc.

In the following code we will disable the second SmartItem (NumStatePanel) and move the first SmartItem (Panel), to the last position.
When you run your application, you end up with an XP-style statusbar quite similar to the one found throughout Windows:
